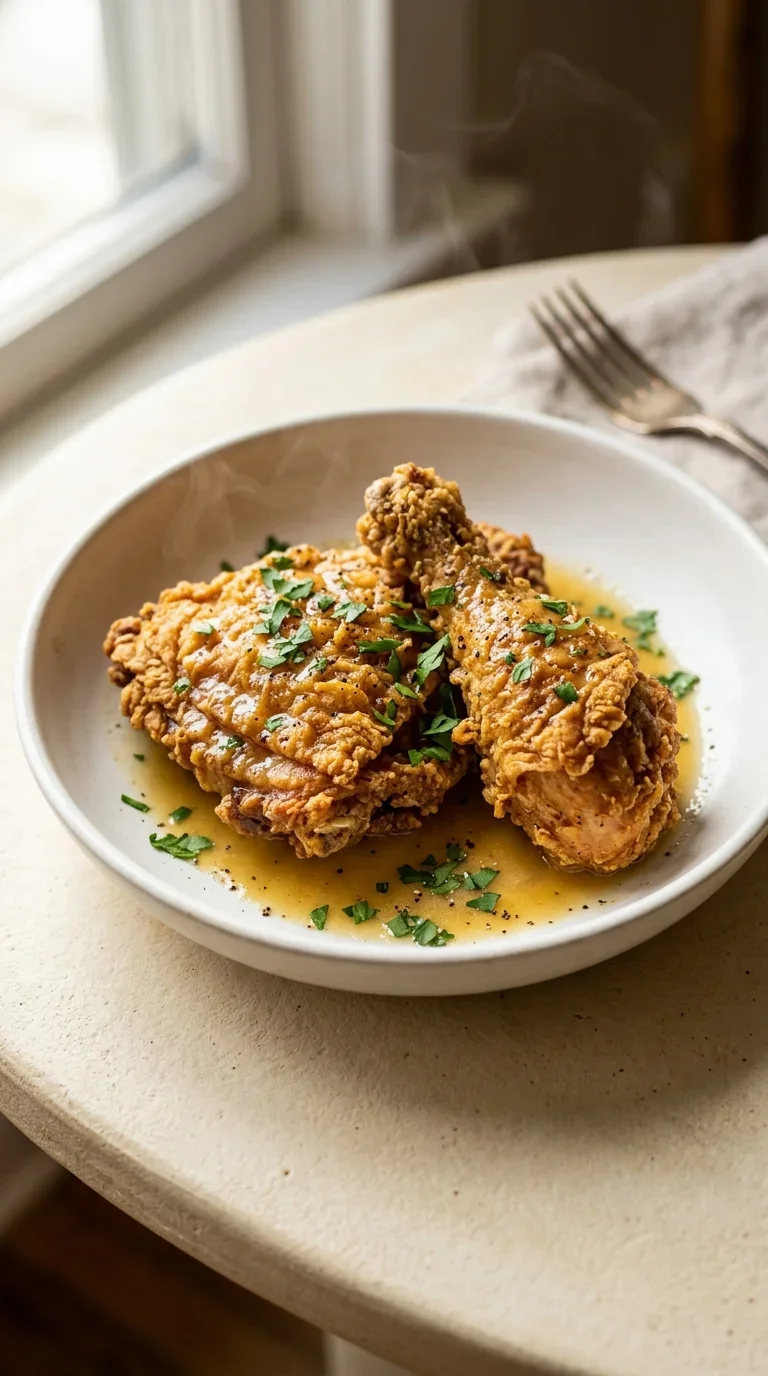
The legacy of crispy buttermilk southern fried chicken is a beautiful tapestry of cultural exchange, blending Scottish frying techniques with West African seasoning traditions. In the American South, this dish evolved from a luxury reserved for special occasions into a symbol of community and hospitality. The use of buttermilk wasn't just for flavor; the lactic acid naturally tenderizes the meat, creating a juicy interior that contrasts with a rugged, seasoned exterior.
Over decades, the dish became a centerpiece of Sunday dinners and church socials, representing a shared history of resilience and creativity. The careful layering of spices—like garlic powder and onion powder—reflects the regional preference for bold, aromatic profiles that could feed a large family from a single pot.
Today, the tradition lives on in kitchens across the world, maintaining its status as the gold standard of comfort food. It remains a culinary anchor, connecting modern home cooks to a heritage of slow-cooked love and soulful gathering.
Why You'll Love It
-
- Honestly, there is just something about that golden-brown, pepper-kissed crust that feels like a warm hug from grandma.
-
- Well, look, the 1 cup buttermilk does all the heavy lifting here, making the meat so tender it practically melts in your mouth.
-
- I mean, that first crunch is just... wow. It is the kind of satisfying sound that makes a Sunday dinner feel complete.
-
- So, it is a bit of a process, but seeing those 6 bone-in, skin-on chicken thighs and 6 bone-in, skin-on chicken drumsticks turn perfectly gold is just so rewarding.
"It tastes just like my grandmother's kitchen. That crunch is absolutely incredible, and the meat stays so juicy!"
Essential Ingredient Guide
- 6 bone-in, skin-on chicken thighs & 6 bone-in, skin-on chicken drumsticks: I always stick with bone-in pieces because they stay so much juicier. Just make sure they are patted dry before the flour hits so you get that perfect crust.
- 1 cup buttermilk: This is the secret, really. It tenderizes the meat and gives it that slight tang that balances the richness of the oil.
- 1 tablespoon hot sauce (optional): Now, this won't make it spicy, but it adds a little soul to the marinade. I remember when I first tried it, it just woke up all the other flavors.
- 2 cups all-purpose flour & spices: Mixing the flour with 1 tablespoon paprika and those other herbs creates a beautiful, savory coating. Make sure you whisk it well so every bite is seasoned.
- Vegetable oil: You need a good amount for frying to keep the temperature steady. It's the only way to get that crispiness without the chicken soaking up too much grease.
- Fresh chopped parsley or a squeeze of lemon juice: A little bit of brightness at the end just cuts through the fried goodness. It's like a little wake-up call for your taste buds.
Complete Cooking Process
-
Getting Ready:
We start by letting the chicken soak in that buttermilk mixture. It's a quiet bit of waiting, but it's where the magic happens for the texture.
-
Building the Flavor:
Whisking together the flour, paprika, and herbs creates a seasoned blanket for the meat. I like to make sure it's all uniform so there are no surprises.
-
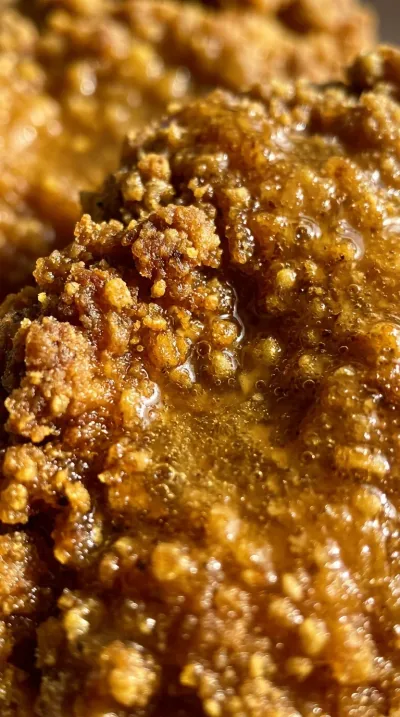
Achieving the Crunch:
Dredging the chicken and frying it at exactly 350°F is key. That steady heat turns the coating into a golden shell while keeping the inside juicy.
-
The Final Touch:
Moving the pieces to a wire rack lets the air circulate. It prevents the bottom from getting soggy, which would be such a shame after all that work.
-
The Perfect Moment:
Letting the chicken rest for 5 minutes is just as important as the frying. It lets the juices settle so every bite is perfectly moist.
-
Keep your flour mixture chilled until you use it to help the coating stay crispier.
-
Avoid lifting or shaking the chicken while it fries to ensure even cooking.
-
A tiny bit of vinegar in the 350°F oil helps the crust set quickly and stay crisp.
-
Use a thermometer to keep your oil temp steady; add a bit more oil if it cools down.
Pro Tips
Just take your time and enjoy the process, you've got this!
Better For You Treats
Now, this is a rich dish, but you can make it a bit lighter. I suggest using a leaner oil and maybe cutting back on the 1 teaspoon salt if you're watching your heart health.
Ways to Make it Your Own
If you like a kick, try adding 1 tablespoon of Cajun seasoning to the flour for a Cajun-Spiced version. Or, for something sweet, brush on a honey-BBQ glaze and pop it in the oven for a few minutes.
Serving Suggestions
I love serving this on a rustic platter with corn on the cob and baked beans. If you're feeling fancy, put a piece on toasted rye bread with some creamy coleslaw for a real treat.
Frequently Asked Questions
→ Can I marinate the chicken overnight?
Oh, absolutely. You can leave it in the buttermilk for up to 4 hours, or even overnight, for a deeper, more tender flavor.
→ What if my oil isn't hot enough?
Ugh, that's when the chicken gets greasy. If the oil drops too low, just take a break for a minute and let it climb back up to 350°F.
→ How do I know when it's actually done inside?
The golden crust is a good hint, but I always use a thermometer to make sure the thickest part hits 165°F.

Nutrition Facts
per serving
580
Calories
36g
Protein
18g
Carbs
38g
Fat
Taste Profile
A savory, peppery punch balanced by the tang of buttermilk.
Ingredient Substitutions
Don't have an ingredient? Try these alternatives
Provides a similar tang and acidity for tenderizing.
Ensure the blend has a binder like xanthan gum for the crust to stick.
Recipe Variations
Try these delicious twists on the original
Cajun-Spiced Fried Chicken
Add 1 tablespoon of Cajun seasoning to the flour mixture for an extra kick of heat and that wonderful Southern-style aroma.
Honey-BBQ Glazed Finish
After frying, brush each piece with a blend of honey and tangy BBQ sauce, then pop them in a 400°F oven for 2–3 minutes to set the glaze.
Common Mistakes to Avoid
Learn from others' mistakes for perfect results
- Overcrowding the pan, which drops the oil temperature and makes chicken greasy.
- Skipping the resting period, which can lead to loss of juices.
- Not dredging thoroughly, resulting in patchy crusts.
Meal Prep & Storage
Make Ahead Tips
You can marinate the chicken in buttermilk for up to 4 hours in the fridge to let those flavors really sink in before frying.
Leftover Ideas
Keep refrigerated for 3 days. To bring back the crunch, reheat in a 400°F oven for 10–15 minutes; avoid the microwave if you can, as it makes the skin soft.
Perfect Pairings
Serve this with...
Cooking Timeline
Whisk buttermilk and hot sauce; begin marinating chicken.
Mix the flour and spices in a shallow dish.
Pat chicken dry and dredge in the flour mixture.
Heat oil to 350°F and fry chicken in batches.
Drain on wire rack and let rest for 5 minutes before serving.
 Sweet Bakes & Desserts
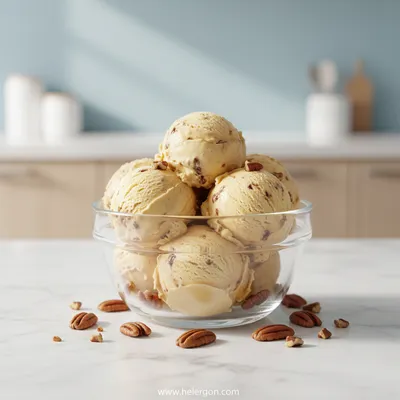
Butter Pecan Ice Cream Recipe
Creamy homemade butter pecan ice cream with crunchy pecans and a buttery finish.
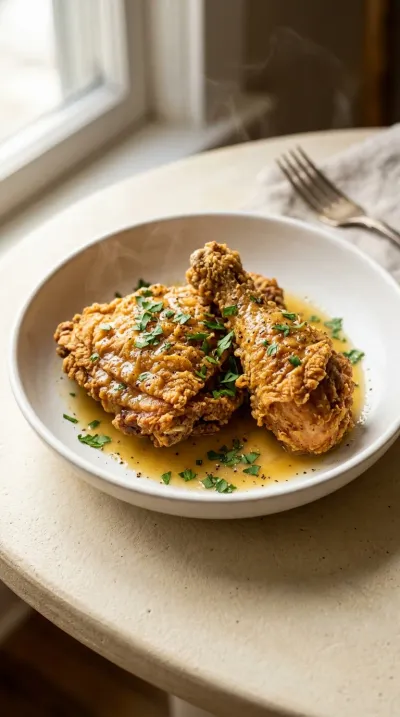
Crispy Buttermilk Southern Fried Chicken
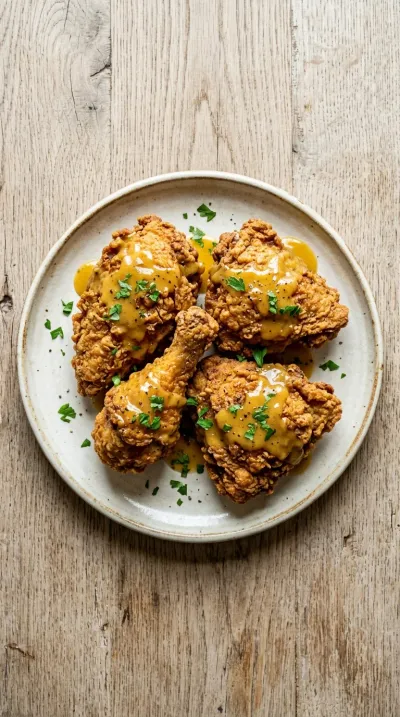
Enjoy the golden-brown crunch of a pepper-kissed crust and juicy meat in this crispy buttermilk southern fried chicken. It is a warm, comforting meal that brings the heart of the South right to your kitchen table.
Timing
Prep Time
25 Minutes
Cook Time
35 Minutes
Total Time
60 Minutes
Recipe Details
Ingredients
Chicken and Marinade
-
01
6 bone‑in, skin‑on chicken thighs
-
02
6 bone‑in, skin‑on chicken drumsticks
-
03
1 cup buttermilk
-
04
1 tablespoon hot sauce (optional)
Seasoned Flour Coating
-
01
2 cups all‑purpose flour
-
02
1 tablespoon paprika
-
03
1 teaspoon cayenne pepper
-
04
1 teaspoon salt
-
05
1 teaspoon black pepper
-
06
1 teaspoon garlic powder
-
07
1 teaspoon onion powder
-
08
1 teaspoon dried thyme
-
09
1 teaspoon dried oregano
-
10
1/2 teaspoon baking powder
Frying
-
01
Vegetable oil, for frying
Instructions
Start by whisking your 1 cup buttermilk with 1 tablespoon hot sauce (if you're using it) in a large shallow dish. Now, just nestle those 6 bone‑in, skin‑on chicken thighs and 6 bone‑in, skin‑on chicken drumsticks right into the liquid. Seal it up and let it marinate in the fridge for at least 15–20 minutes—though honestly, if you can wait up to 4 hours, the flavor gets so much deeper.
In another shallow dish, go ahead and combine your 2 cups all‑purpose flour, 1 tablespoon paprika, 1 teaspoon cayenne pepper, 1 teaspoon salt, 1 teaspoon black pepper, 1 teaspoon garlic powder, 1 teaspoon onion powder, 1 teaspoon dried thyme, 1 teaspoon dried oregano, and 1/2 teaspoon baking powder. Give it a good stir until it's all uniform and smelling lovely.
Now, here's a little trick: pat that marinated chicken dry with some paper towels and let the excess buttermilk drip off. Dredge each piece thoroughly in your seasoned flour mixture, pressing lightly so it really sticks. Just shake off any extra coating so it isn't too thick.
Heat about 2 inches of vegetable oil in a deep skillet or Dutch oven until it hits 350°F (175°C). Use a thermometer to keep an eye on it; I mean, if the oil cools down when you add the chicken, just add a bit more hot oil gradually to keep it steady.
Working in batches—because we don't want to overcrowd the pan—carefully lower the coated chicken into the hot oil, skin side first. Use your tongs to place them in gently so you don't splash.
Fry each piece until that crust turns a beautiful golden brown and gets really crispy. That's usually about 6–7 minutes per side, or until the internal temperature of the thickest part reaches 165°F (74°C).
Once they're done, lift the fried chicken out with tongs and move them immediately to a wire rack set over a baking sheet or parchment paper to drain. You can use paper towels too, but a rack keeps them crispier.
Well, now comes the hard part: let the chicken rest for 5 minutes. This short wait keeps all those wonderful juices locked inside and ensures the skin stays extra crispy.
If you like, garnish with some fresh chopped parsley or a little squeeze of lemon juice. Serve it while it's still hot!
For a real Southern experience, I love pairing this with some creamy coleslaw, buttery mashed potatoes, or a slice of warm cornbread.
Notes & Tips
-
1
Keeping the flour mixture chilled prevents clumping for a better crust.
-
2
A steady, gentle flip prevents the chicken from absorbing too much oil.
-
3
A short rest after frying is essential for juice retention.
 One-Pan & One-Pot Meals
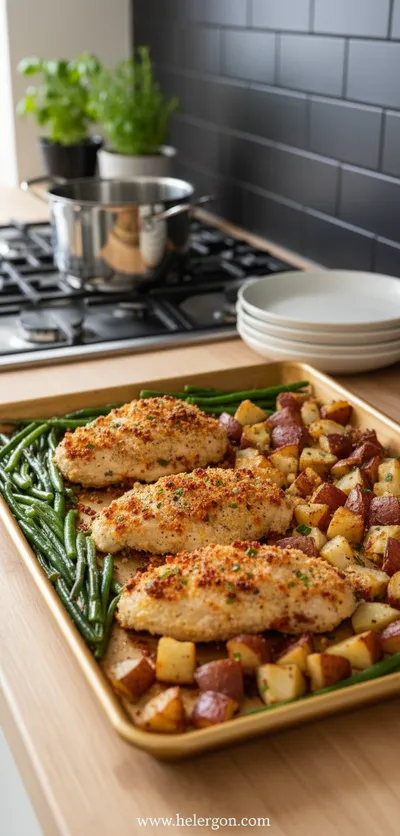
Parmesan Crusted Chicken Sheet Pan Dinner
One‑pan Parmesan chicken with golden crust and roasted veggies, ready in under an hour.
Tools You'll Need
-
Large shallow dish for marinating
-
Small shallow dish for flour dredging
-
Whisk for mixing seasonings
-
Tongs for safe frying
-
Deep skillet or Dutch oven for oil
-
Thermometer for oil and internal chicken temp
-
Wire rack for draining
-
Paper towels for patting dry
-
Cutting board
-
Measuring cups and spoons
Must-Know Tips
-
Chilled Flour, Keep your flour mixture chilled until use to ensure a crispier coating when it hits the oil.
-
Gentle Flipping, Avoid lifting or shaking the chicken during frying to ensure even cooking.
-
Vinegar Trick, Introducing a small amount of vinegar to the 350°F oil helps the coating set quickly.
Professional Secrets
-
Temperature Control, Maintaining exactly 350°F prevents the chicken from becoming greasy.
-
Moisture Management, Patting the marinated chicken dry before dredging prevents the flour from becoming a paste.
-
Internal Temp, Relying on 165°F rather than just color ensures the chicken is juicy and safe.
What readers are saying
Community reviews from home cooks like you
So easy and delicious. I really liked how the 6 bone‑in, skin‑on chicken thighs and 6 bone‑in, skin‑on chicken drumsticks came together. Will be making this regularly.
Perfect for a busy weeknight. I really liked how the 6 bone‑in, skin‑on chicken thighs and 6 bone‑in, skin‑on chicken drumsticks came together. My kids even asked for seconds.
Will definitely make this again. I really liked how the 6 bone‑in, skin‑on chicken thighs and 6 bone‑in, skin‑on chicken drumsticks came together. Perfect as written.
Absolutely loved this recipe! I really liked how the 6 bone‑in, skin‑on chicken thighs and 6 bone‑in, skin‑on chicken drumsticks came together. Highly recommend giving it a try.
This exceeded my expectations. I really liked how the 6 bone‑in, skin‑on chicken thighs and 6 bone‑in, skin‑on chicken drumsticks came together. Perfect as written.
This exceeded my expectations. I really liked how the 6 bone‑in, skin‑on chicken thighs and 6 bone‑in, skin‑on chicken drumsticks came together. Will be making this regularly.
It was okay, with a few tweaks. The thighs flavor was nice, but next time i'll double the sauce. I might try it again with some adjustments.
I was surprised how good this turned out. I really liked how the 6 bone‑in, skin‑on chicken thighs and 6 bone‑in, skin‑on chicken drumsticks came together. My kids even asked for seconds.
This exceeded my expectations. I really liked how the 6 bone‑in, skin‑on chicken thighs and 6 bone‑in, skin‑on chicken drumsticks came together. It took slightly longer than the recipe said. Great addition to my recipe rotation.
It was okay, with a few tweaks. The thighs flavor was nice, but next time i'll double the sauce. I might try it again with some adjustments.

Get Delicious Recipes Weekly
Join 25,000+ home cooks getting our best recipes straight to their inbox.
Free forever • No spam • Unsubscribe anytime